HELP CENTRE
Getting Started
Creating Your Account
Head over to the Registration Section on our Login Page to sign yourself up for a new MapDataLAB account.
Selecting A Plan
Once you’re set up with an account, you will be directed to our Plans Page where you can select a plan that meets your requirements.
Creating Your First Map
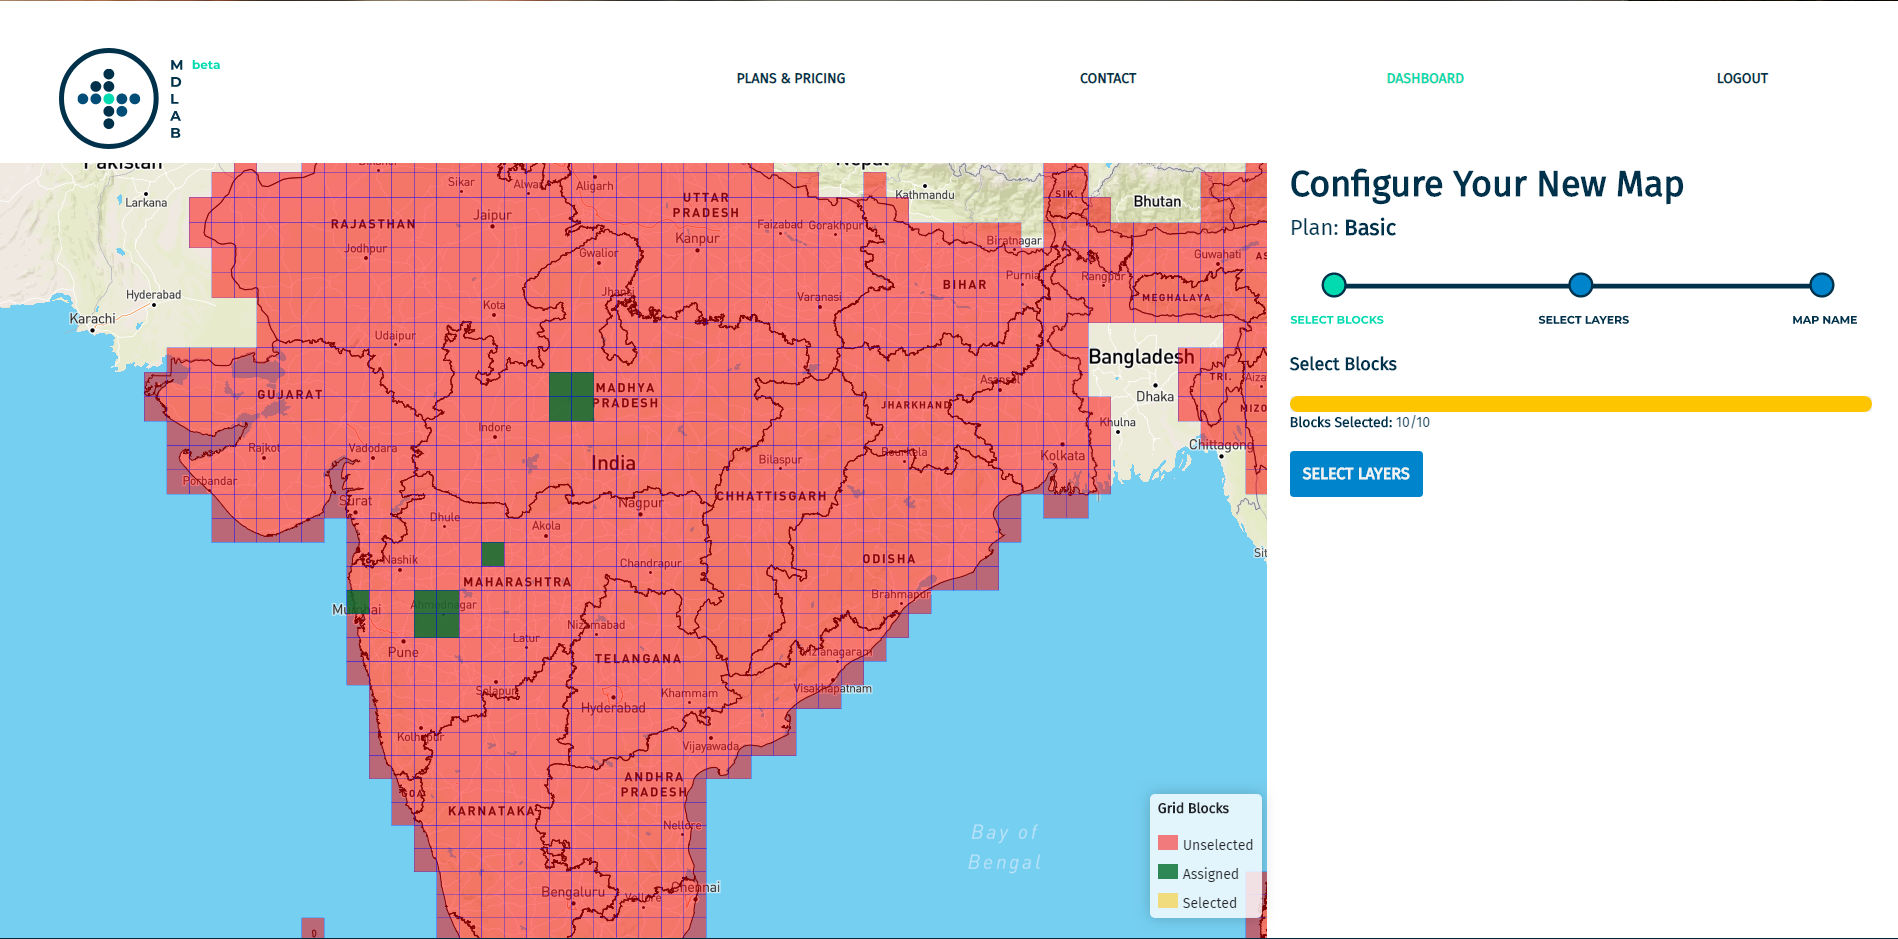
Once you select your plan, you're all set to create your first map. You will be presented with a grid of available blocks which you can select. Once you’ve selected the blocks, you can choose the grid layers you want on your map.
The Dashboard
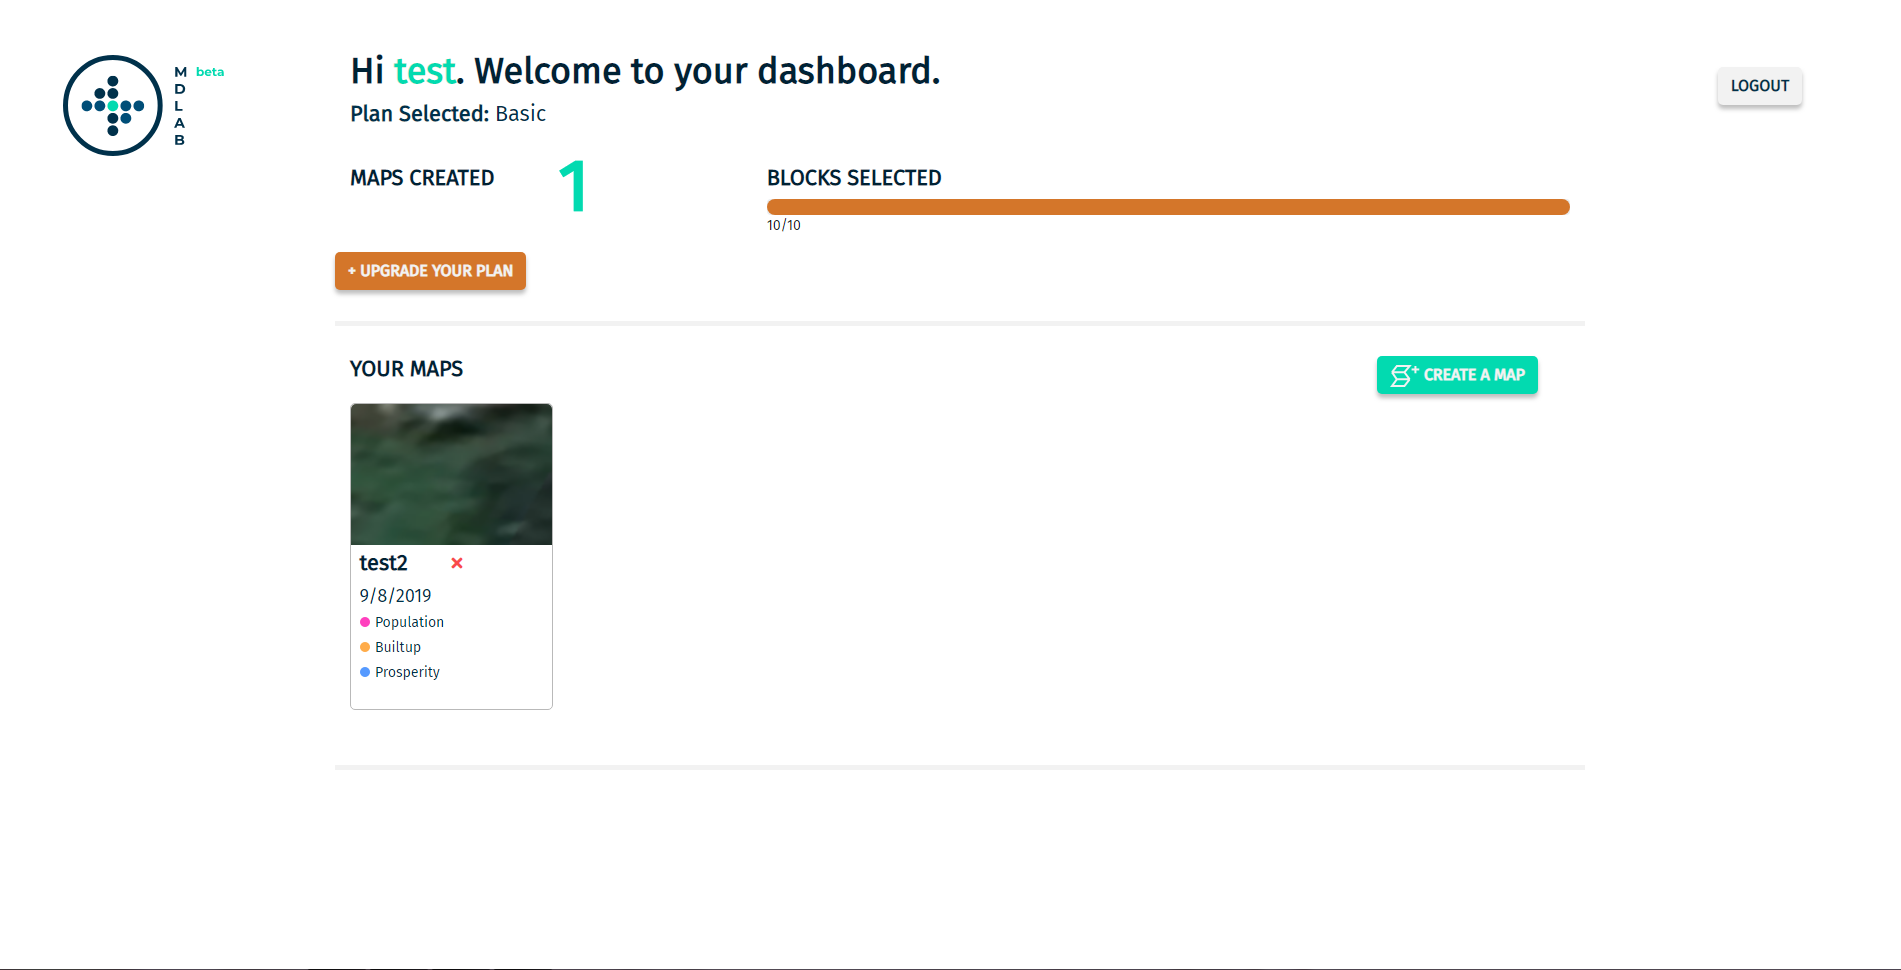
The dashboard consists of two major sections: your Plan Information and the Map List associated with your account.
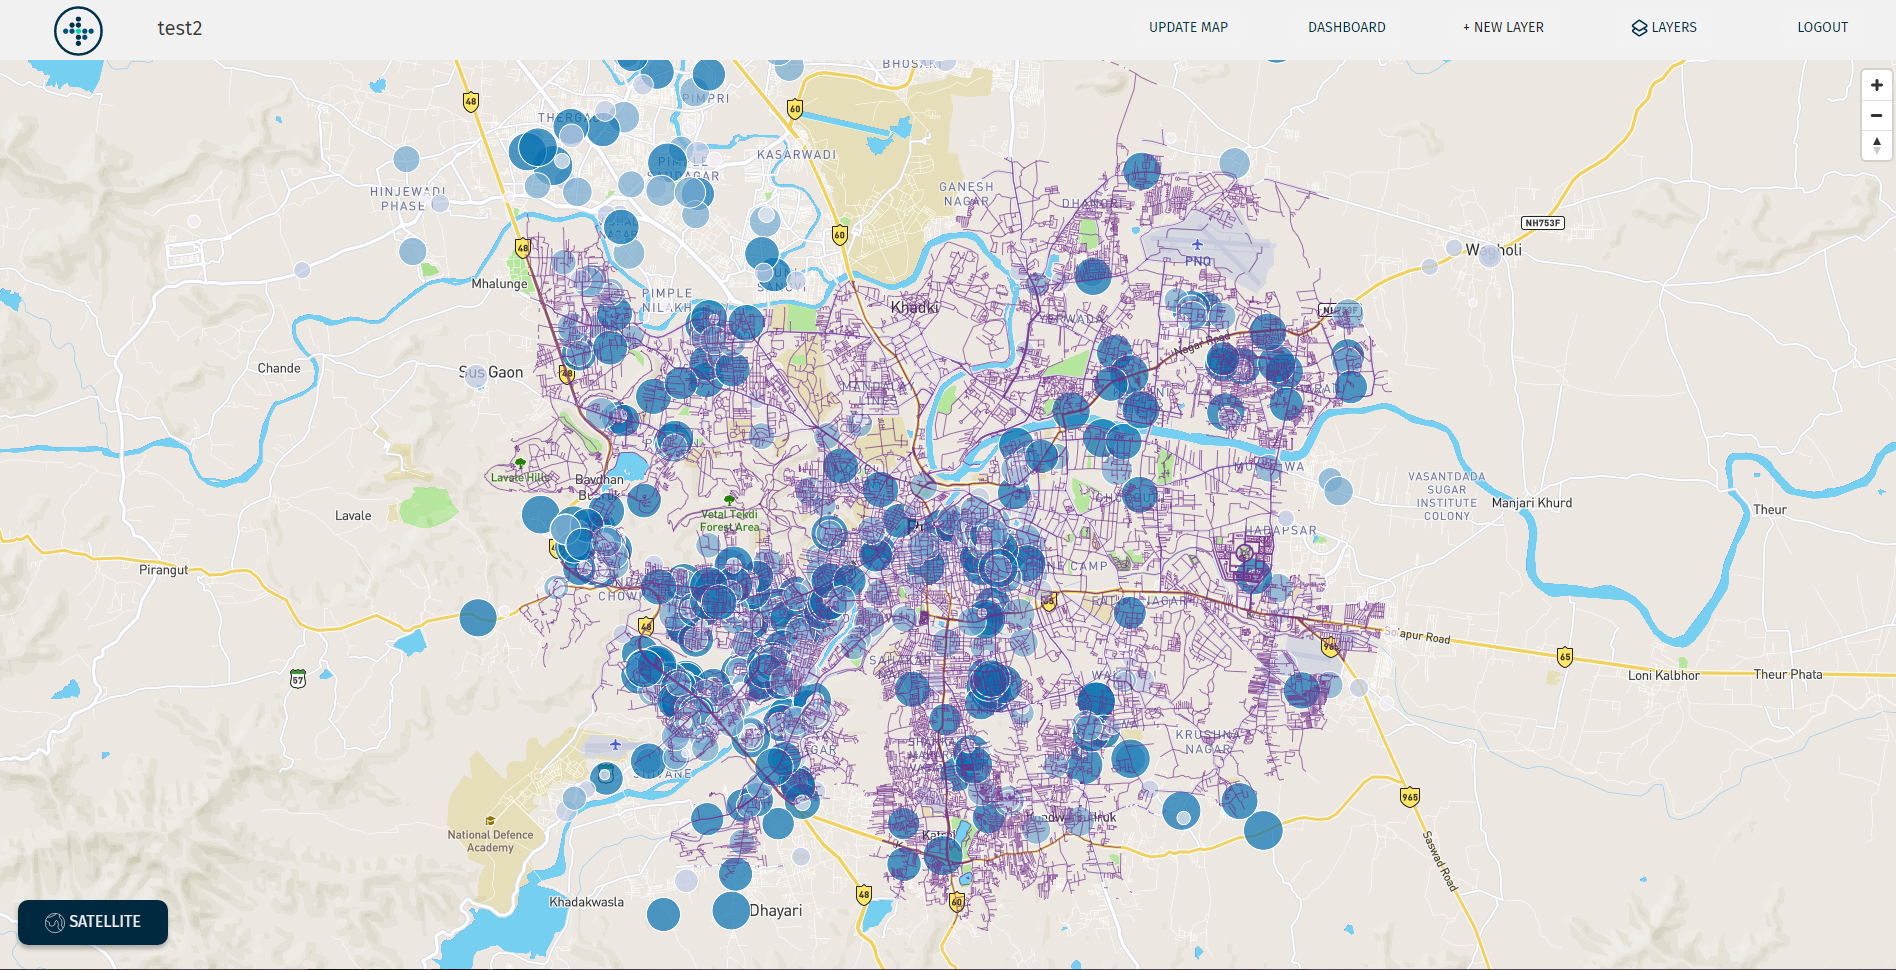
The Map Interface
The main components that make up the Map Interface are:
The Main Menu
The Main Menu contains the following options:
The Map Name
Update Map - Redirects to the Update Map Page.
Dashboard - Redirects to the Dashboard.
New Layer - Opens the New Layer Tab.
Layers - Opens the Layers Tab.
Logout - Logs out of the account.
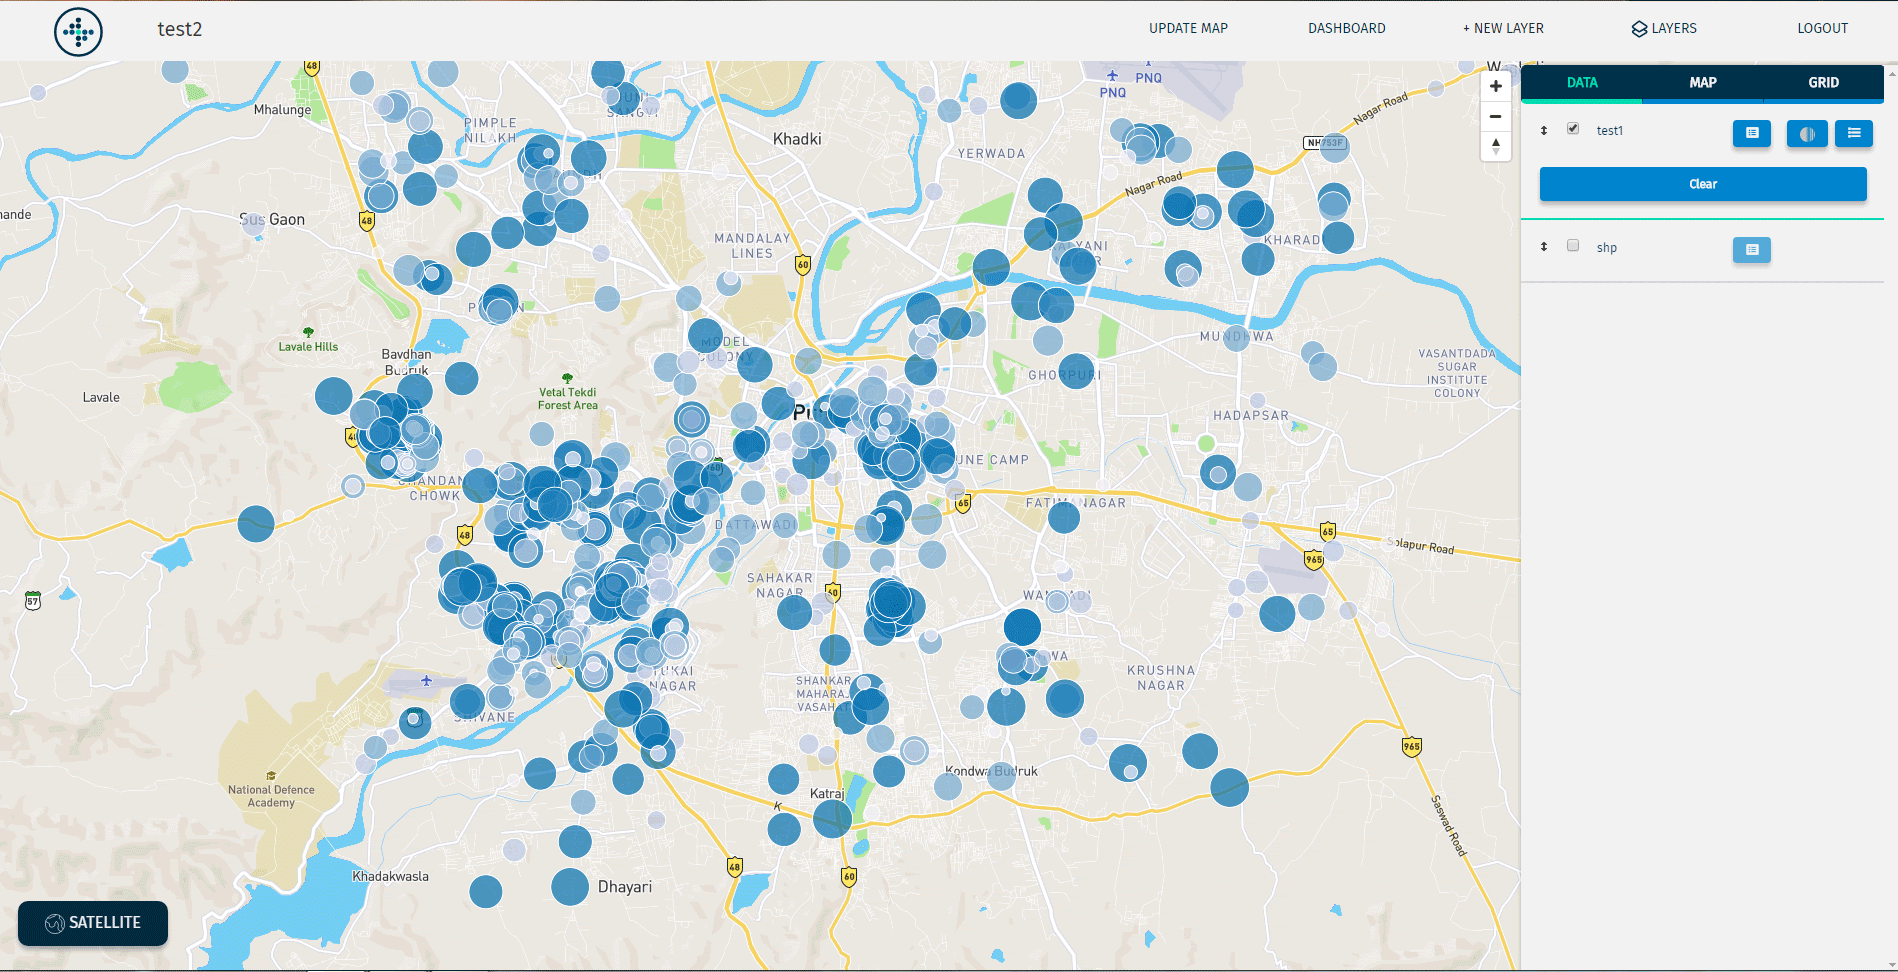
The Layers Tab
The Layers Tab contains all the layers associated to the concerned map. The layers are divided into the following categories:
User Data Layers
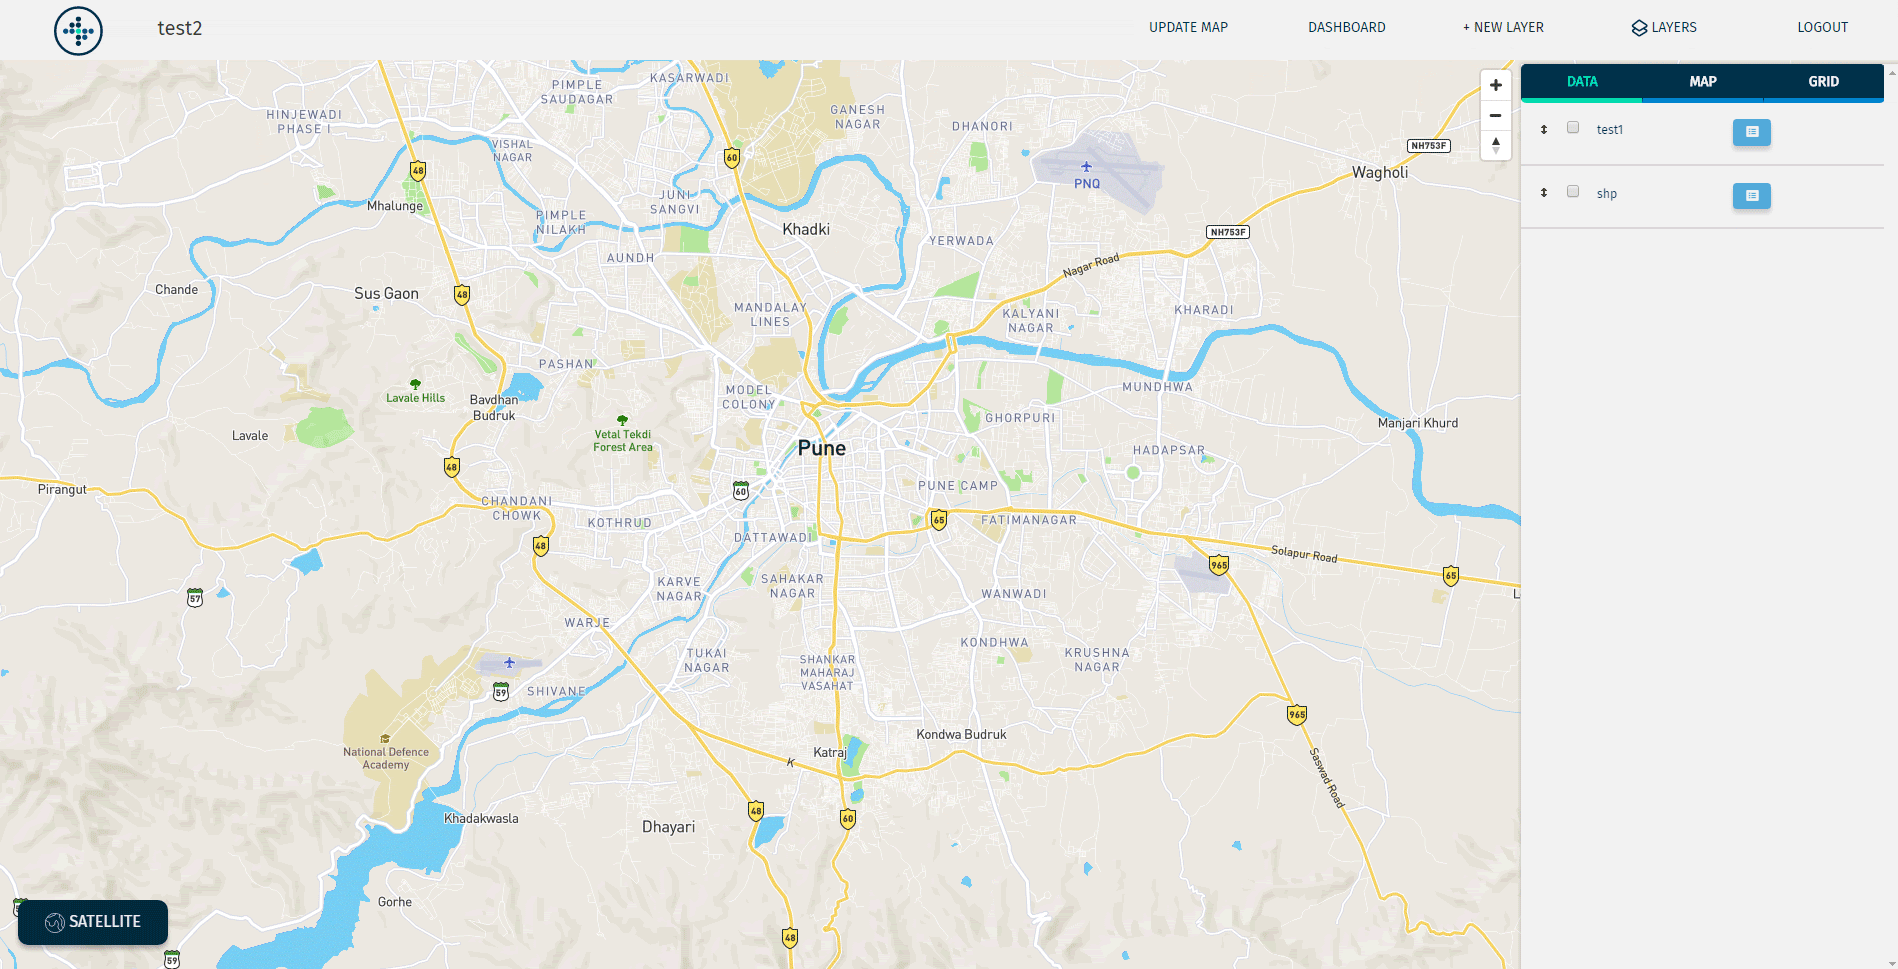
Map Layers
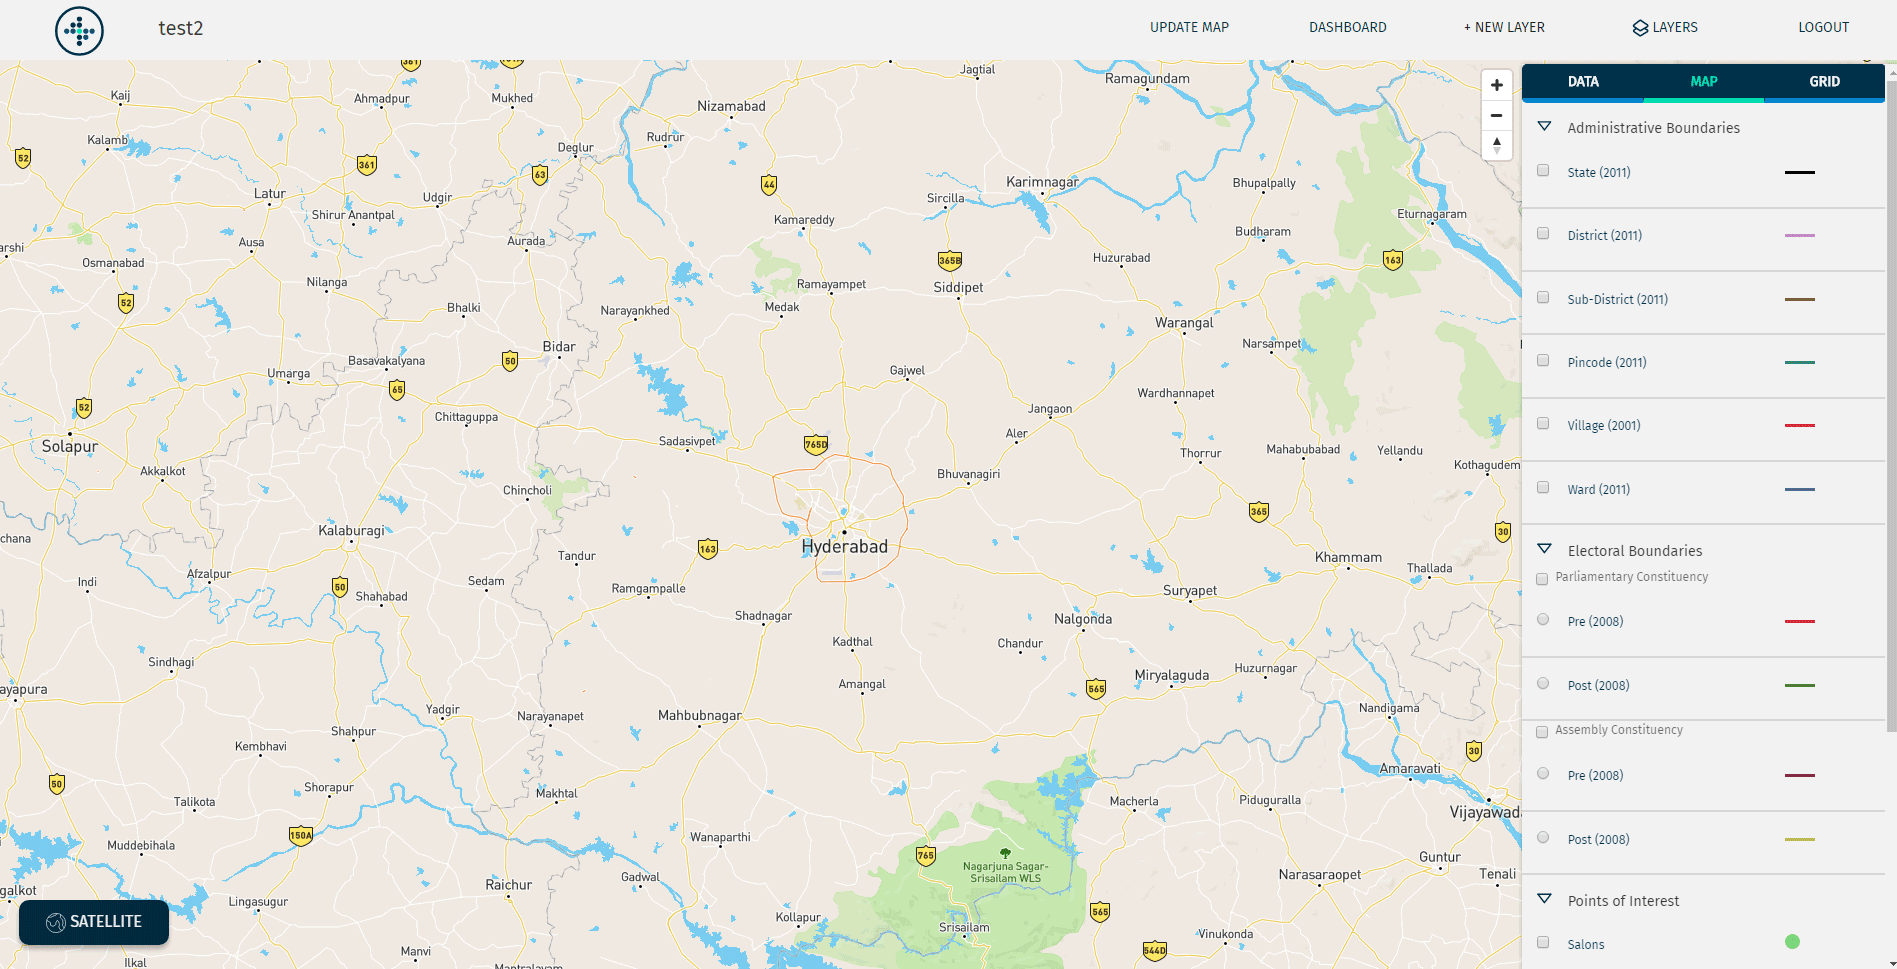
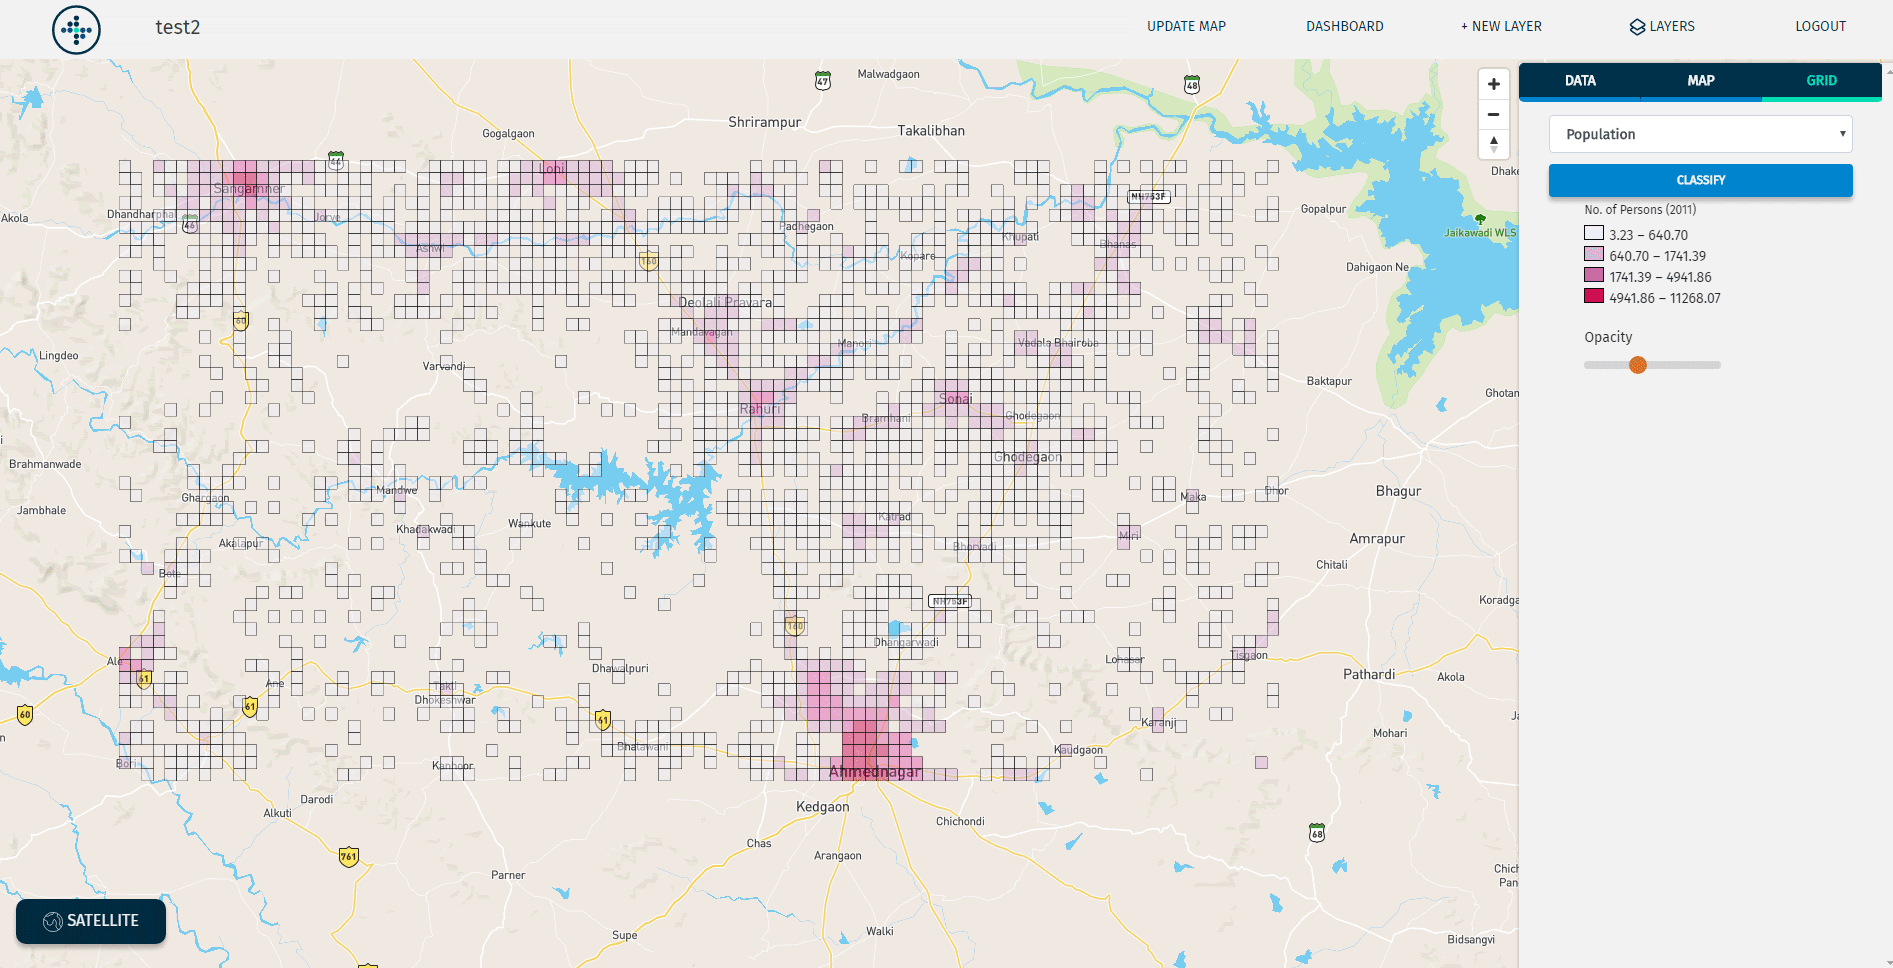
Grid Layers
The New Layer Tab
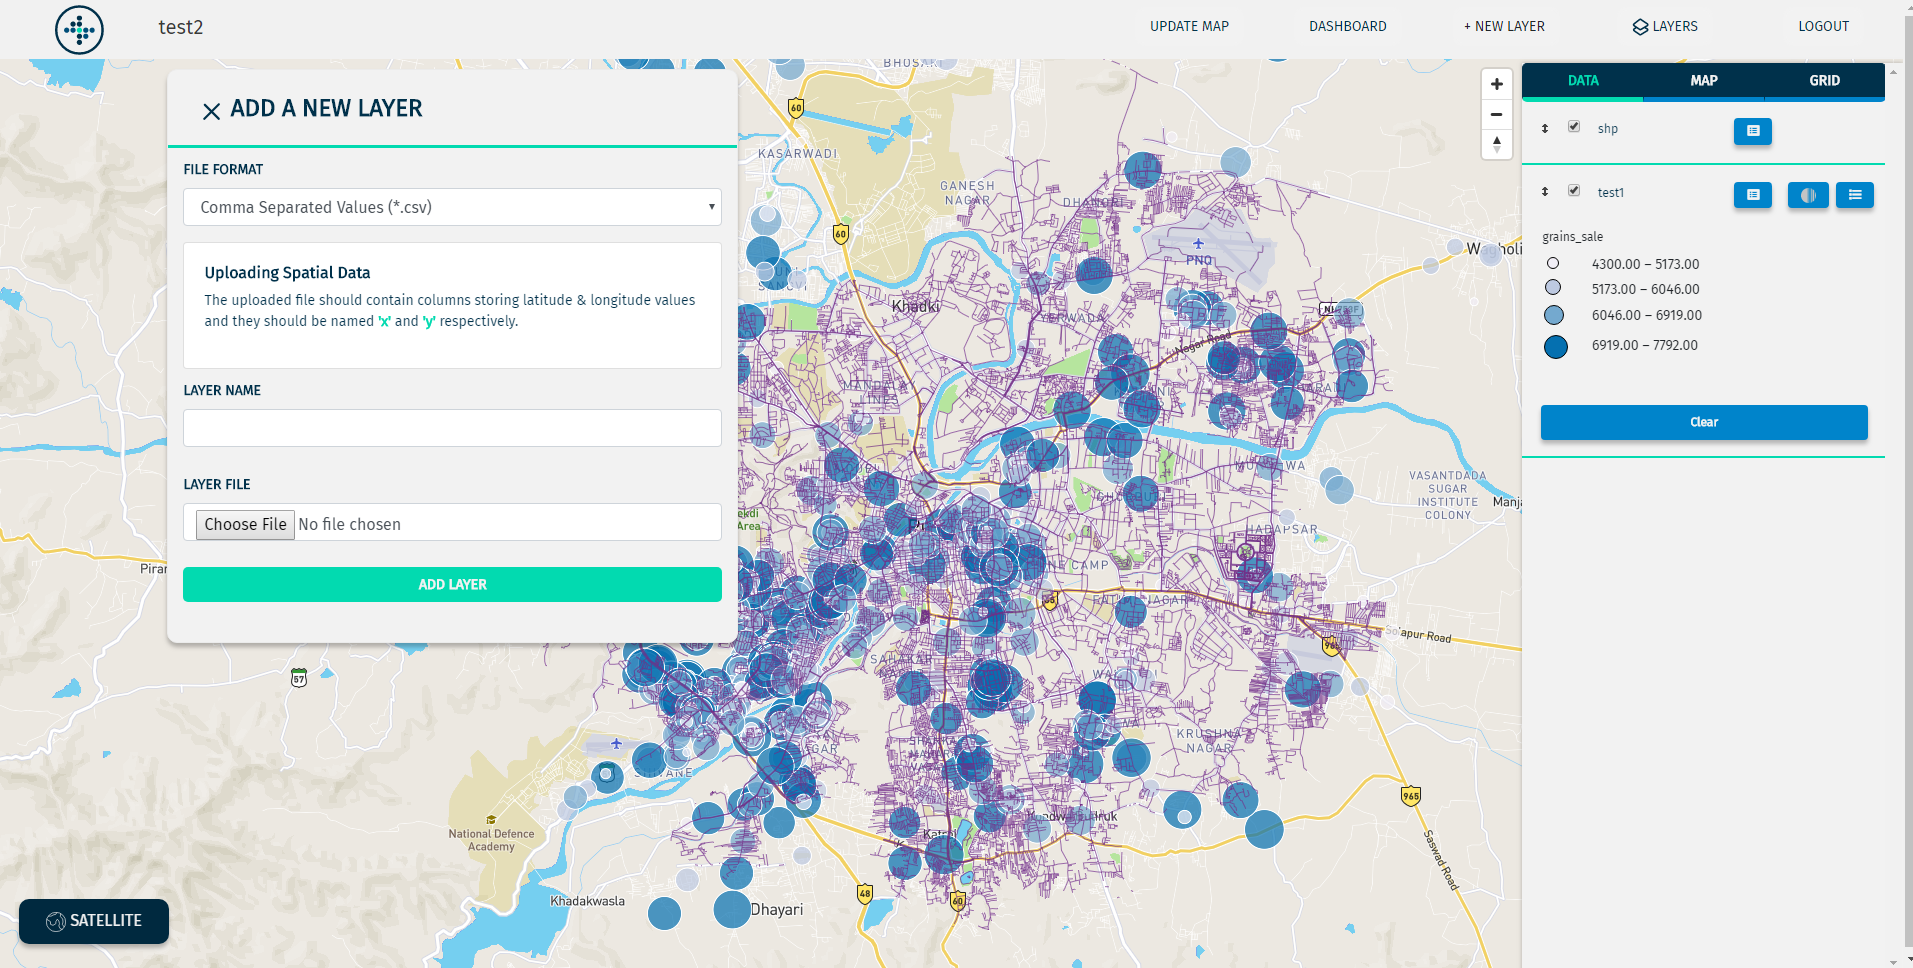
The New Layer Tab is used to add a new Data Layer to your map. The 4 supported formats for data upload are:
CSV (with spatial coordinates)
CSV (without spatial coordinates)
Shape File (.shp)
GeoJSON
Adding Data To Your Map
To add Data Layers on your map, navigate to the New Layer Tab. The supported data formats and the instructions for the same are as follows:
CSV (with spatial coordinates)
The uploaded file should contain columns storing latitude & longitude values and they should be named 'x' and 'y' respectively.
CSV (without spatial coordinates)
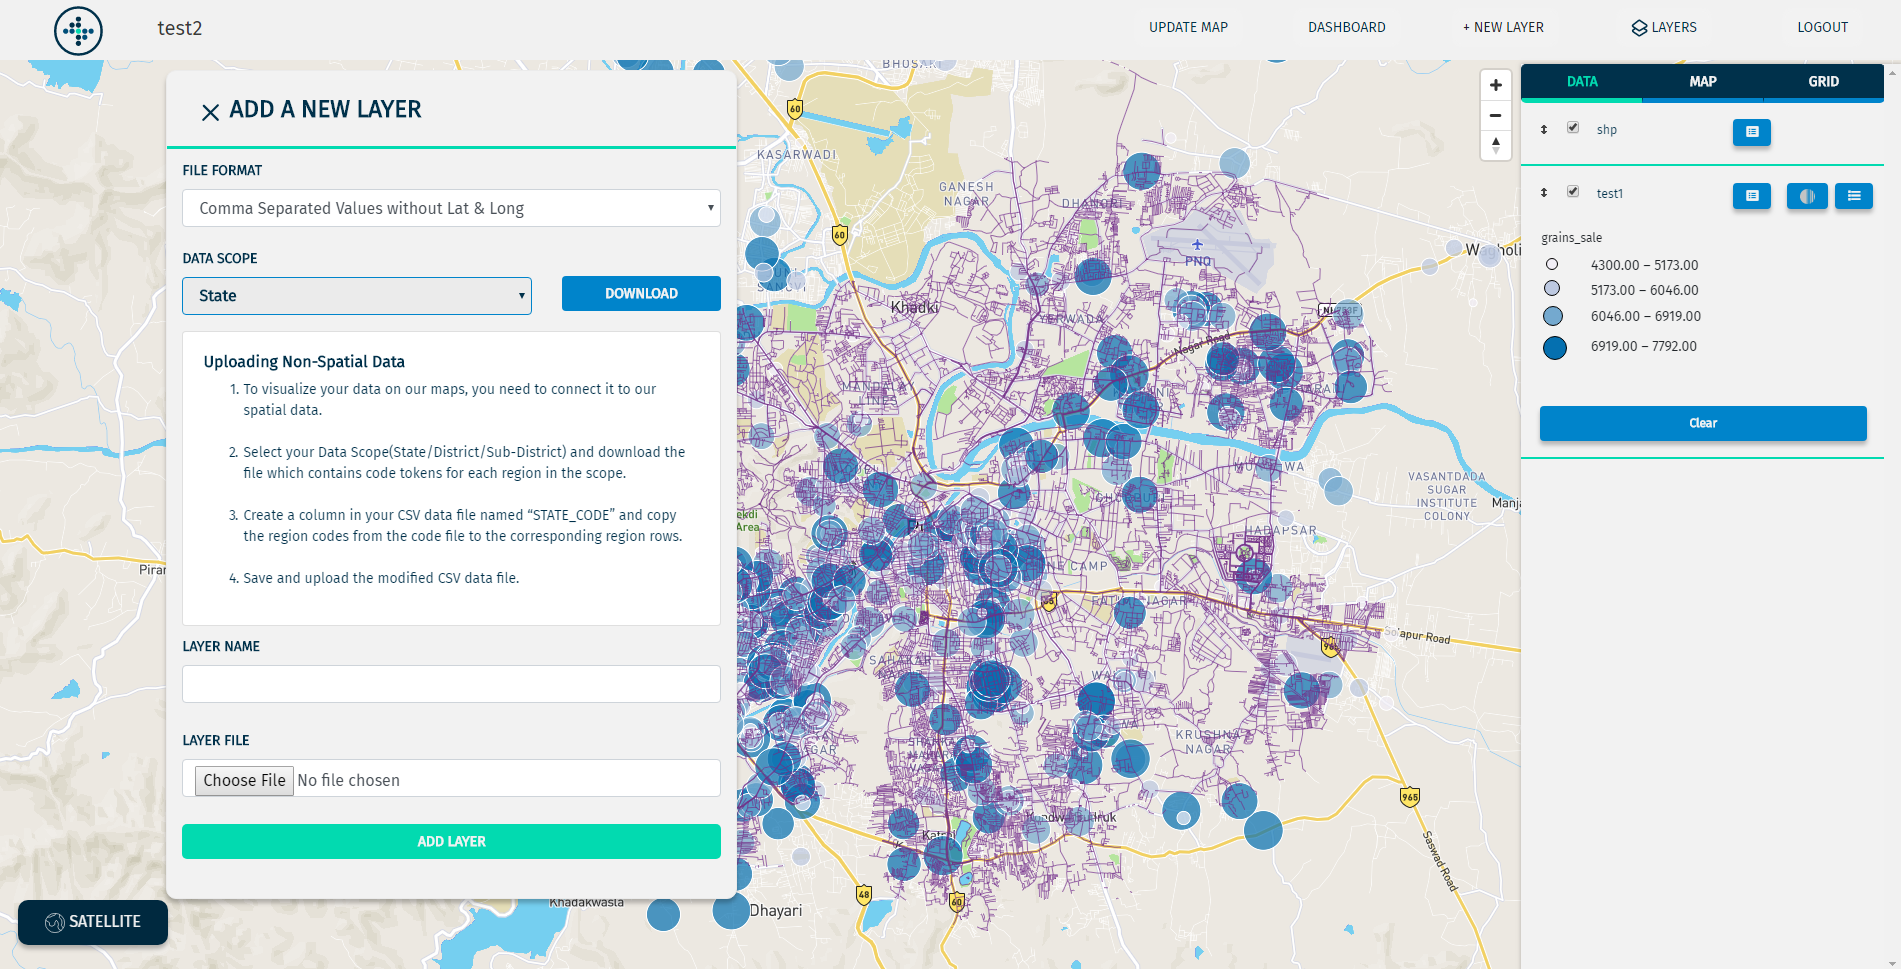
To visualize your data on our maps, you need to connect it to our spatial data.
1. Select your Data Scope(State/District/Sub-District) and download the file which contains code tokens
for each region in the scope.
2. Create a column in your CSV data file named “STATE_CODE” and copy the region codes from the code file
to the corresponding region rows.
3. Save and upload the modified CSV data file.
Shape Files (.shp)
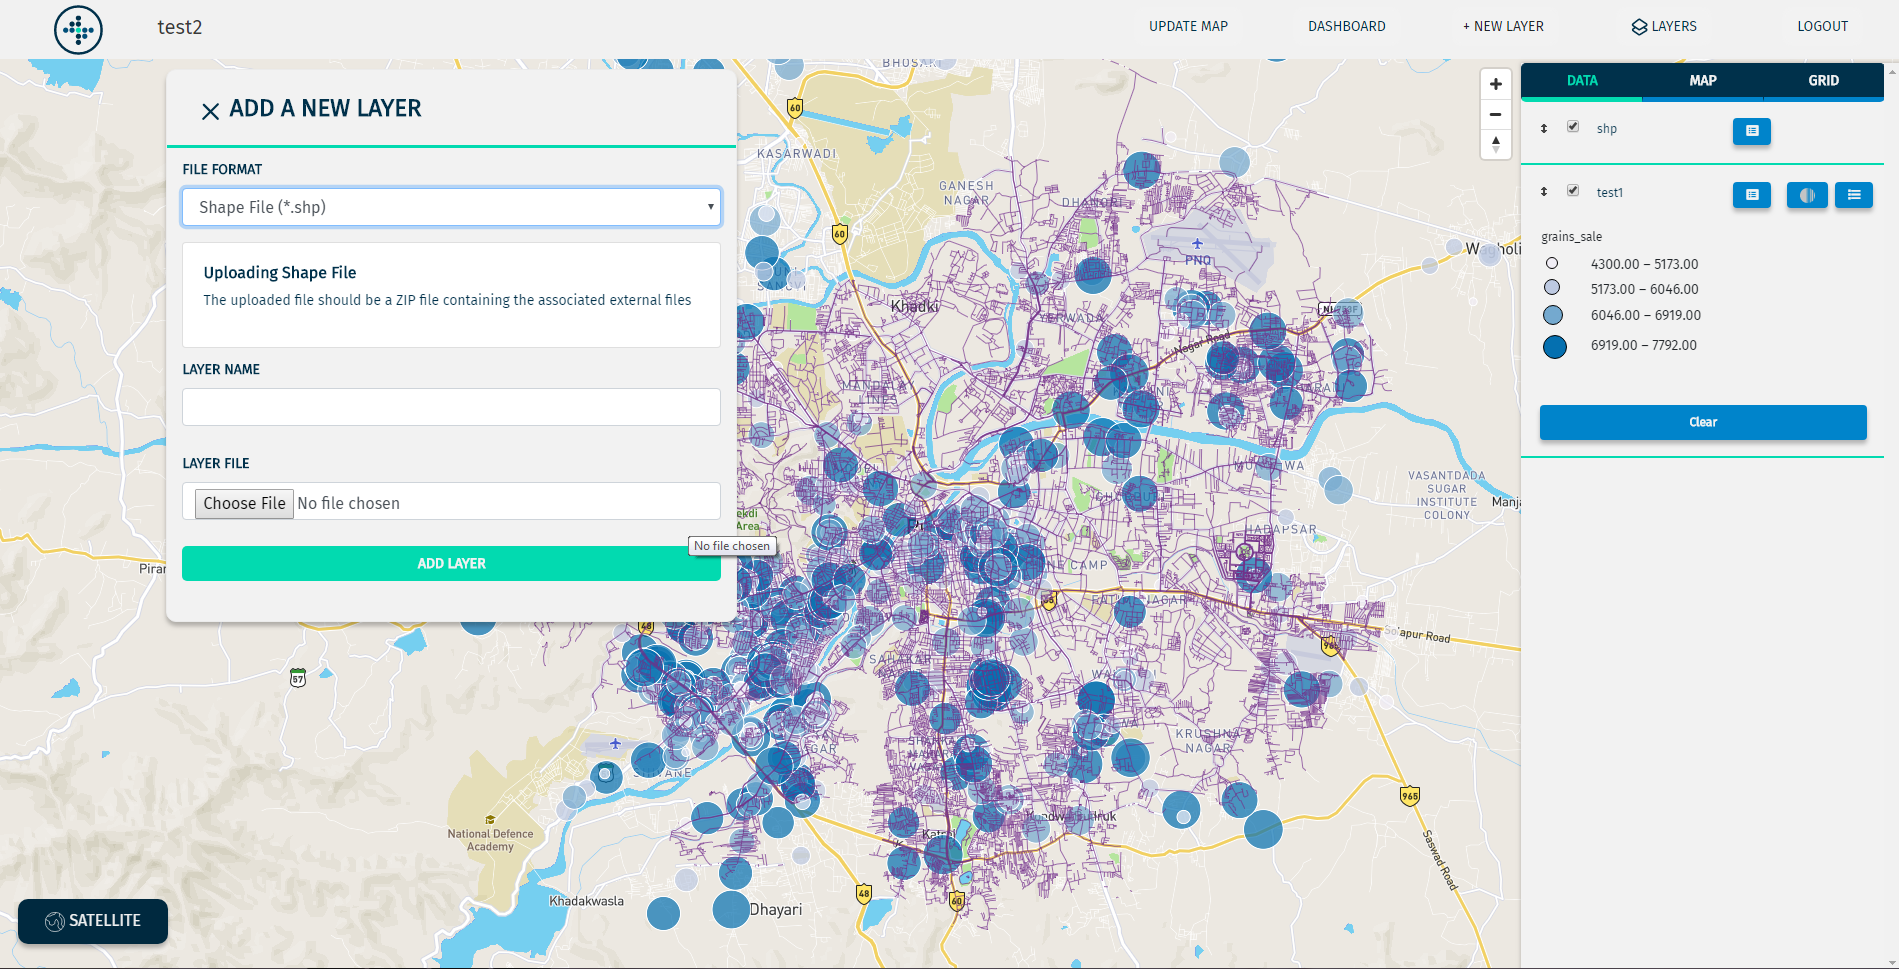
The uploaded file should be a ZIP file containing the associated external files.
GeoJSON

The uploaded file should be of the JSON or GeoJSON file type.
Classifying Data
MapDataLAB allows its users to classify their Data and Grid Layers. The layer can be classified by clicking on the Classify Button associated with the layer.